Foundation Paper Piecing CHEAT SHEET
Foundation paper piecing is not difficult.
It requires only straight line sewing, no tricky seams and no special equipment. The results can be spectacular and a FPP pattern can look much more difficult than it really is.
Pick a pattern that you love and bring it to life by following these simple steps.
Use a SHORT stitch length - all those perforations make the paper much easier to remove. Allow AT LEAST 1/4” extra fabric around each pattern piece - the bigger the better - you can always trim back later.
Check yourself BEFORE you sew - those little stitches are really hard to rip out, check twice, sew once!
Figure out your own rhythm.
There’s always more than one way to do something. If you’re new to the technique give these steps a go, and adapt to suit how your brain works.
Useful tool - you could use an ‘Add a quarter” ruler, but it’s not essential. In fact I’ve made my own by lining up a couple of layers of masking tape along the 1/4” line of a spare ruler. I keep a pencil handy to draw on the back side of the paper template - if I can’t visualise where the next piece needs to be I’m able to sketch it out.
BEFORE YOU BEGIN
Get the scale right
Most FPP pattern templates are downloadable files you can print for yourself at home. If you are printing your own patterns off make sure your printer settings are set to print to 100%
or ‘Actual Size’.
Alternatively - if you already have a pattern and need to make a different size you could experiment with different scales to get the size block you need for your project.
1. PIN IT
Pin your fabric to the pattern so it doesn’t slide around. WRONG SIDE to the BACK of the pattern - right side facing DOWN.
Be sure to allow enough space around the edges of the piece to cover seam allowance of 1/4” minimum.
2. FOLD IT
Fold the pattern template along the line between piece #1 and #2. Use a business card or postcard so you get a nice crisp accurate fold.
3. TRIM IT
Grab a ruler and your cutter to trim the seam down to 1/4”.
4. FLIP IT
Flip the whole template
5. PLACE IT
Place the fabric for piece #2 RIGHT SIDES TOGETHER with piece #1. Align the edge along the edge you trimmed in step 3.
Be sure to allow enough fabric to cover the whole of pattern template piece #2 including a 1/4” seam allowance ALL THE WAY AROUND the piece.
6. CHECK IT
Fold the template and the fabric for piece #2 back into position and CHECK you’ve got everything lined up and sure to cover the pattern template.
Fold the fabric back into place and get ready to sew.
7. SEW IT
With everything ready to go, slide under the sewing machine and join your pieces ALONG the line.
Use a short (1.4-1.6) stitch length to make the paper easier to remove. Sew JUST outside the end of the line at the beginning and the end.
8. CHECK IT AGAIN
Flip over and check everything to make sure you got it all where it needs to be.
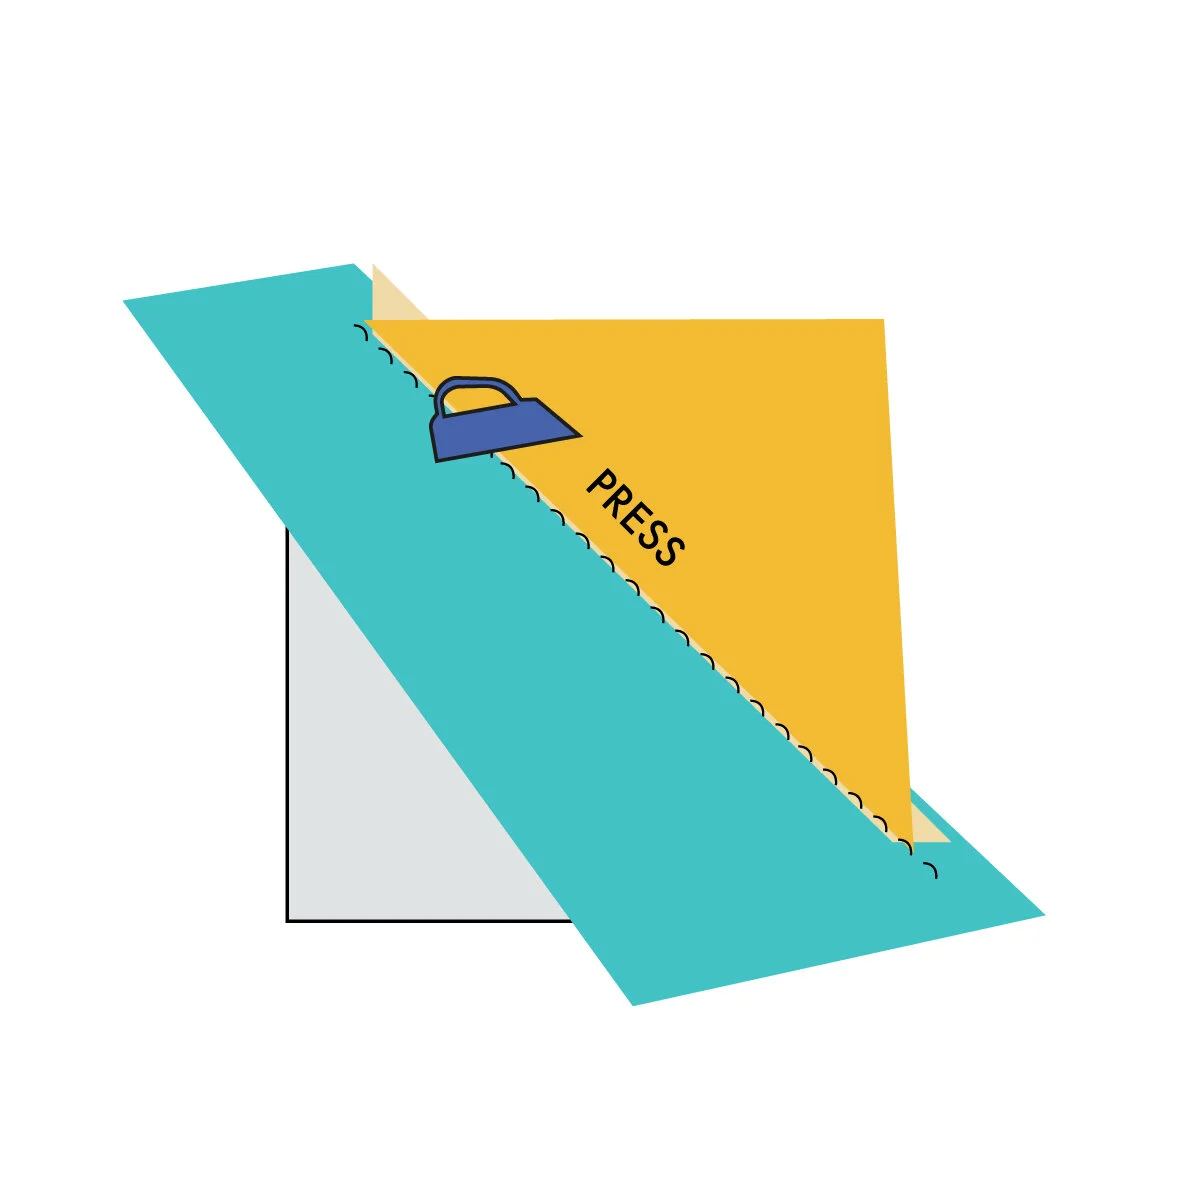
9. PRESS IT
Get a good crispy seam with a hot dry iron. Press carefully - there’s going to be some bias edges and you could easily stretch them.
WHAT ABOUT THE PAPER?
I like to keep the paper attached until everything is together. There are lots of bias edges that could stretch and leave wavy seams.
Once the whole quilt top is assembled carefully remove the paper, making sure you don’t rip out the stitching. Sewing with a very short stitch length should perforate the paper so you can tear it along the seams.
A gentle spritz with water can help loosen up stubborn seams, and a seam ripper or tweezers can be really handy for clearing out sharp corners.
I use regular office printer paper most of the time - my printer doesn’t deal very well with anything else, but you could use tracing paper, or blank newsprint if you have that available where you are.
You’re going to want to put your blocks together at some stage, and lining up the seams can be tricky.
The method I use is outlined in the FREE PDF download file from the SHOP. Also included in the file is the template used in the instructions here.
Joining blocks?
The templates for this block are included in the download along with tips on how to line up your seams when joining blocks.
This layout, the block finishes 6”x6” (15x15cm)


